
SportFits Travel
High-altitude mountaineering: the basics for beginners
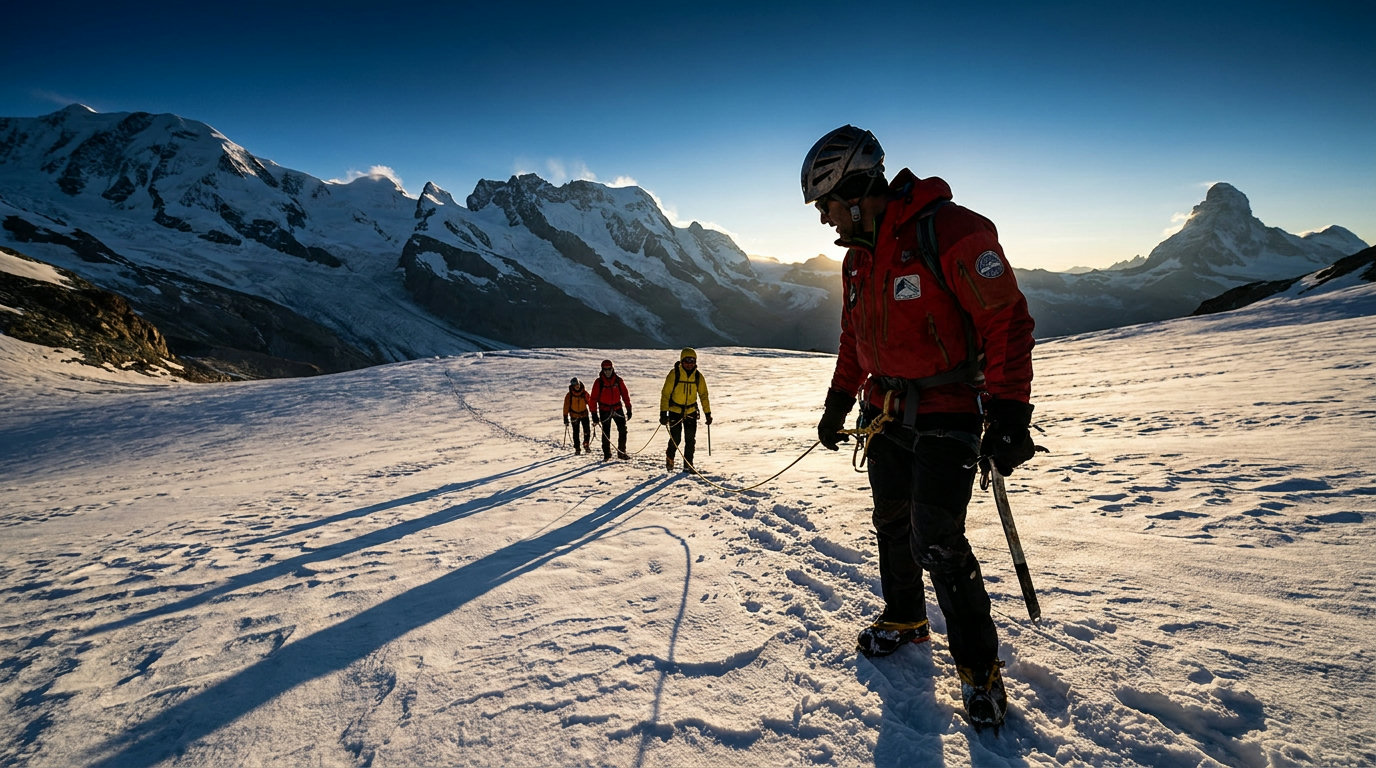
High-altitude tours are no spontaneous adventure. Preparation, technique and respect for the glacier decide whether your day is memorable or dangerous.
The essentials at a glance
- 01
High-altitude tours usually take place above 3,000 metres on névé, ice and glaciers. Technique and planning beat raw fitness.
- 02
Crampon-compatible boots (B2 or B3), steel crampons, an ice axe, helmet and harness are the minimum kit. Practise with all of it beforehand.
- 03
Acclimatisation is non-negotiable: above about 3,000 m, raise your sleeping altitude by no more than roughly 300 m a day and add a rest day for every 1,000 m.
- 04
On a glacier, never go alone. Rope up with clear spacing and start early because of snow conditions and rockfall.
- 05
Climate change is reshaping classic routes. Conditions today are not those of twenty years ago.
What high-altitude mountaineering really is
A high-altitude tour is more than a long hike. It is an Alpine discipline in its own right: routes at great height, often over snow, névé and glaciers, where crampons, an ice axe and a rope are standard. Underestimate it because the sun is out, and 3,500 metres will soon teach you otherwise.
The appeal lies in that mix of physical effort, technical challenge and the silence up where few people go. A clear morning above a névé field, the crunch of crampons, a sea of summits on the horizon. No valley walk feels like that.
But a tour is only as good as its planning. Solid route planning with weather, maps and an honest self-assessment is the heart of the discipline.
What you need: fitness, technique, judgement
You don't need extreme experience to start, but you do need an honest foundation: solid basic fitness, sure footing on scree and easy blocky ground, the stamina to keep going for several hours, and a genuine willingness to learn new techniques.
Your head matters as much as your legs. Realistic self-assessment separates the good days from the bad ones, and now and then from the truly dangerous ones. If you already know in the valley that your planned tour is too big, you'll arrive at the top exhausted. If you don't know, you sometimes won't arrive at all.
For physical preparation, combine long hikes with plenty of ascent, targeted endurance training and a little leg strength. Checking your own heart-rate zones helps you manage pace and effort.
The right equipment at a glance
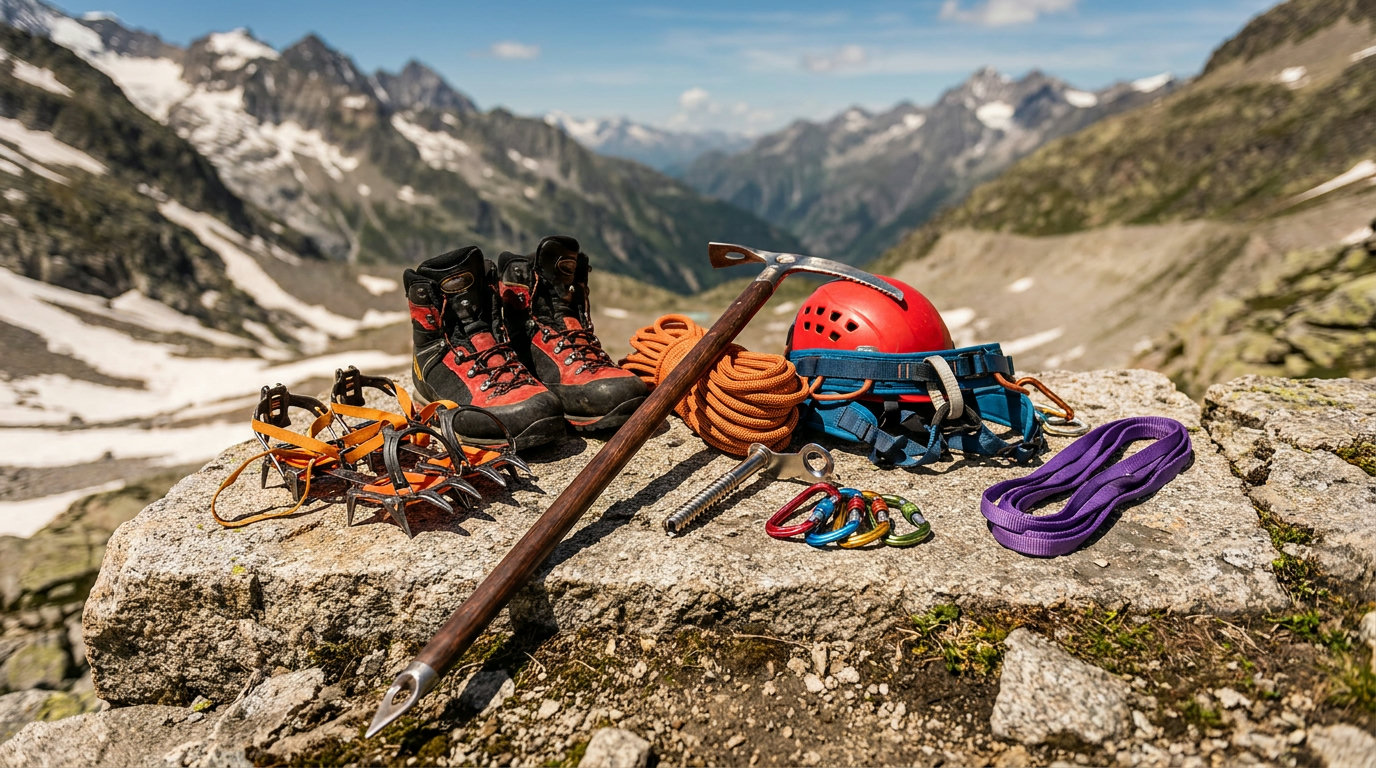
The basic kit is manageable, but every item has to suit your boots and your route. Crampon-compatible boots (category B2 for classic high-altitude tours, B3 for demanding ice and mixed routes) are the foundation. Add matching crampons, a mountaineering ice axe 50 to 70 cm long, a helmet, a harness and the rope team's protection gear.
What you carry matters less than this: you must have practised with every item beforehand. If you are putting on a harness for the first time at the hut, or hunting for the shaft of your axe, you are on the wrong tour. A quick dry run at home, a practice session at the edge of a glacier and routine in roping up save time and energy higher up. Sometimes more.
Aluminium vs steel crampons
| Feature | Aluminium | SteelBest for beginners | Hybrid |
|---|---|---|---|
Weight (pair) | 350-600 g | 700-1,000 g | 550-800 g |
Use | Ski touring, easy névé | Classic high-altitude tour, mixed ground | Névé with rock sections |
Rock contact | Poor (wears quickly) | Very good | OK at the front |
Price | Low to medium | Medium to high | Medium |
Good for beginners | No | Yes | With reservations |
Understanding the difficulty scale
The SAC mountaineering and high-altitude scale runs from L (easy) to EX (extremely difficult). For beginners, the lower grades L to WS are what count. Keep in mind that "easy" in an Alpine context does not mean harmless. It means easy for a rope team trained in mountaineering. Crevasse rescue, clean crampon technique and navigation on névé are taken for granted.
| Grade | Meaning | What matters | Example tour |
|---|---|---|---|
L | Easy | Walking and blocky terrain, easy névé slopes | Breithorn west summit |
WS | Slightly difficult | Sure-footedness, easy climbing sections | Großvenediger, Wildspitze |
ZS | Fairly difficult | Belays at stances, ice up to 50° | Lyskamm, Biancograt |
S | Difficult | Efficient rope handling, route-finding | Mönch Nollen, Mittellegi ridge |
SS | Very difficult | Belays at stances throughout | Eiger North Face (Heckmair route) |
AS / EX | Exceptionally / extremely difficult | Serious, committing routes, top-level alpinism | Matterhorn Zmutt Nose |
Glacier safety
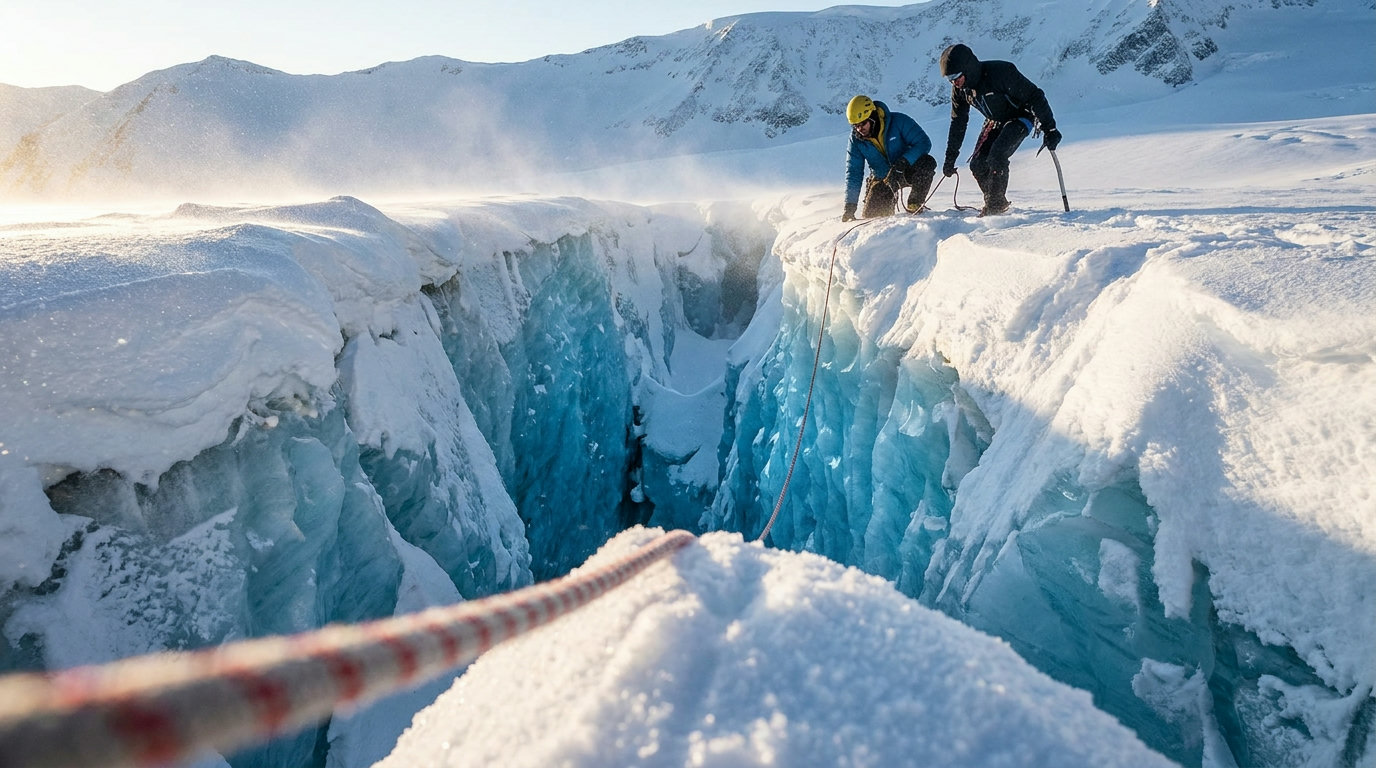
The glacier defines a high-altitude tour, and it is also the biggest risk. Crevasses are often hidden under thin snow bridges, and in summer and late summer some open unseen between névé fields. Never go alone is the most important rule here, and it is meant literally.
A rope team is more than a length of rope between two people. It is a coordinated system of fixed spacing, friction knots in the rope and the ability to actually hold a crevasse fall. For a team of two, that is hard on steep névé, which is why safety research by the German Alpine Club (DAV) recommends four to six people as ideal.
The second big factor is the time of day. Leaving the hut early, often between 3 and 5 am, gives you three advantages at once: firmer snow, a lower risk of falling into a crevasse and less rockfall from slopes losing their snow cover. Still on the névé at 11 am? Then something went wrong.
Rope up before stepping onto the glacier
Tie friction knots in the rope, close your harness and keep rope clamps and karabiners sorted and within reach on it. Never step onto a glacier unroped, not even for a short crossing.
Keep your distance and read the tracks
The most experienced person goes first, ice axe ready to arrest a fall. Avoid suspicious hollows, dark shadows and faint signs of snow bridges. If in doubt, give them a wide berth.
Crevasse fall: brake immediately
Drive the ice axe into the névé, throw your body weight onto it and shout to warn the rope team. Nobody moves until the situation is stable.
Build a T-slot anchor and transfer the load
Bury the ice axe horizontally in the snow, attach a 120 cm sling and transfer the load from your body to the anchor. Then build a second anchor as a backup.
Unrope, haul and rescue
Use rope clamps, a pulley and, if needed, a 3:1 haul system to rescue the fallen climber. If you can't manage on your own, call 112 (Europe-wide) or 140 (mountain rescue in Austria).
Altitude adjustment and acclimatisation
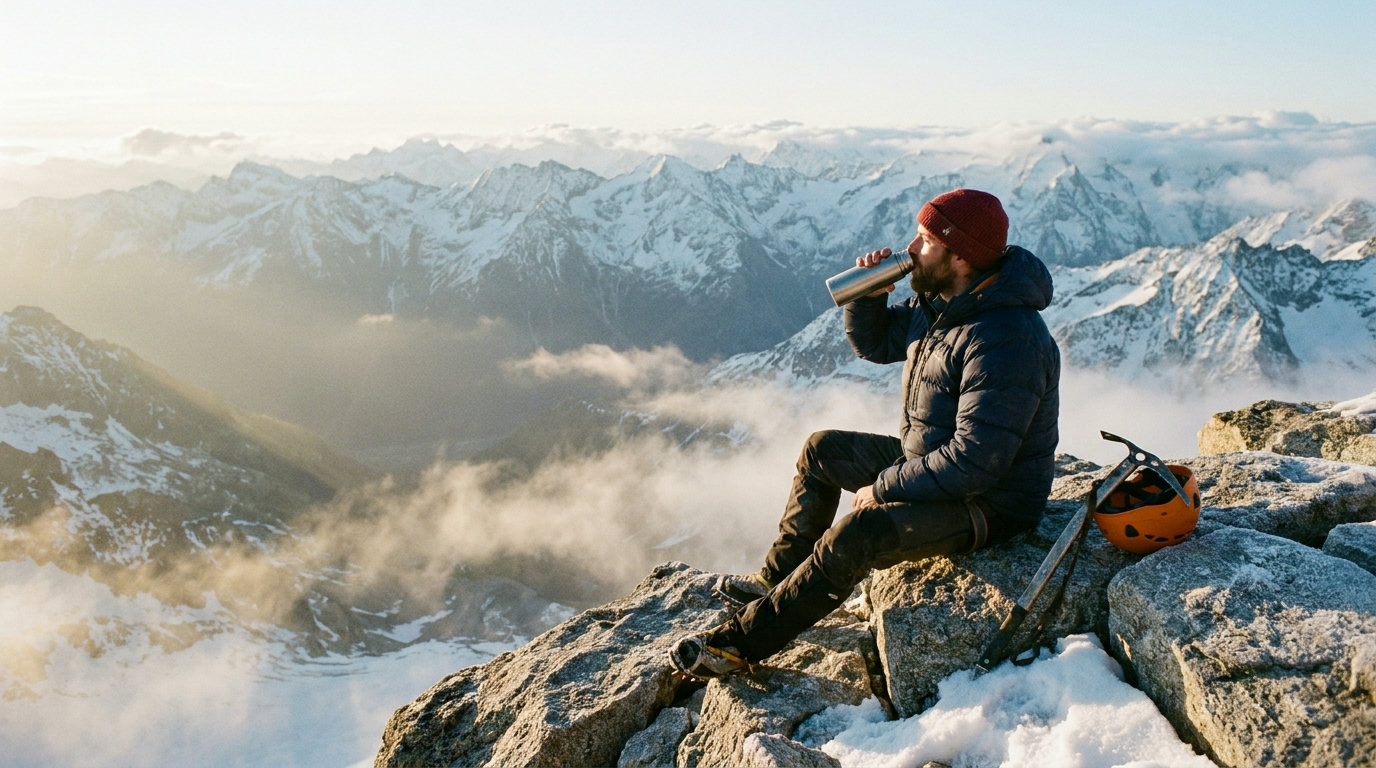
Altitude is what many people underestimate. From around 2,500 metres your body can react measurably. At 3,000 metres blood oxygen saturation drops to around 90 per cent, and above 4,000 metres a too-rapid ascent can bring on high-altitude pulmonary oedema within one to three days. Altitude is pure physiology.
The German Alpine Club's (DAV) acclimatisation guideline is robust and simple: above about 3,000 m, raise your sleeping altitude by no more than about 300 metres a day, and take a rest day for every 1,000 metres (two nights at the same height). Climbing higher during the day and sleeping lower works especially well, the old motto "climb high, sleep low".
You can't cheat acclimatisation. Drive up from the lowlands to a hut at 3,500 metres, attempt a 4,000er the next morning, and you are pushing your luck.
Beginner high-altitude tours: classics to start with
For your first high-altitude tours, pick objectives with good infrastructure, short glacier sections and manageable difficulty. A beginner tour is where you apply what you have learned. Strapping on crampons for the first time should already be behind you.
Suitable beginner high-altitude tours in the Alps
| Tour | AltitudeIdeal starting point | Grade | Key facts |
|---|---|---|---|
Breithorn main summit (Zermatt) | 4,164 m | L | approx. 370 m ascent, 2 h from Klein Matterhorn |
Allalinhorn (Saas-Fee) | 4,027 m | L-WS | approx. 570 m ascent, cable car to Mittelallalin |
Wildspitze (Ötztal) | 3,768 m | WS | 5-6 h from Breslauer Hütte or Vernagthütte |
Großvenediger (Hohe Tauern) | 3,666 m | WS | approx. 7 h from Kürsinger Hütte, 1,220 m ascent |
Similaun (Ötztal) | 3,606 m | WS | approx. 4 h from Similaunhütte |
Hoher Sonnblick | 3,106 m | WS | Classic with a hut on the summit |
Which beginner tour suits you?
- 1
If you want your first 4,000er on a short route
Breithorn main summit: a short tour, but very popular and crowded
- 2
If you want a real glacier day with hut atmosphere
Großvenediger or Wildspitze: classic high-altitude tours with a long day
- 3
If you want to try altitude without going straight to 4,000 m
Hoher Sonnblick: a hut on the summit, good for acclimatising
- 4
If you like the Ötztal region anyway
Similaun: a manageable glacier and a lovely classic hut tour
Right for you if …
Mountain lovers with solid hiking experience, a completed high-altitude course and the willingness to go with a mountain guide or an experienced rope team.
Probably not for you if …
Anyone who has never worn crampons or wants to go onto a glacier without a rope team.
Common beginner mistakes
Mistakes on first high-altitude tours are rarely about technical details. They are almost always failures of planning and humility. You pick a route that is too hard because it looks great on Instagram. You skip proper acclimatisation because your holiday is short. You buy an expensive new jacket and never take it out of the packaging. You leave at 8 instead of 4 am. And, of course, you tell yourself a short stretch of glacier will be fine alone.
High-altitude tours in a changing climate
Plan a high-altitude tour today and you are planning in a changed landscape. Alpine glaciers have lost around 60 per cent of their mass since industrialisation began and currently lose 0.5 to 1 metre of thickness a year on average. Classic routes such as the Goûter Couloir on Mont Blanc, the Pallavicini Couloir on the Großglockner and the Biancograt on Piz Bernina are much harder to find today, or at times impassable.
In practice, check current conditions with the local mountain guides' office or Alpine club, allow for bare ice slopes and new bergschrunds, leave earlier and be ready for Plan B. Routes that were standard twenty years ago often need special conditions or different kit today.
Frequently asked questions
Do I always need a mountain guide for a high-altitude tour?
Without proper training in crampon technique, roping up and crevasse rescue, only go onto a glacier in a guided rope team. A high-altitude course is the standard way into the discipline. After that, you can do easy tours with friends, as long as experienced rope partners are with you.
At what altitude do I need to acclimatise?
Your body reacts measurably from around 2,500 to 3,000 metres. From there, the rule of thumb is: raise your sleeping altitude by no more than about 300 metres a day, and take a rest day for every 1,000 metres. Travel from the lowlands and sleep at 4,000 m straight away, and you risk clear symptoms.
Which mountaineering boot do I need for a high-altitude tour?
For classic high-altitude tours on névé and easy ice, a B2 boot with semi-automatic crampons is usually enough. For demanding ice and mixed routes with vertical ice, go for a B3 boot with automatic crampons. The crampons must fit the boot mechanically, so try the two together before you buy.
Which high-altitude tour suits a very first attempt?
Classics with a short glacier section and good infrastructure include the Breithorn main summit (Zermatt), the Allalinhorn (Saas-Fee) and the Hoher Sonnblick. For a proper hut-based day, try the Großvenediger, Wildspitze or Similaun, always with a mountain guide or an experienced rope team.
How large should a glacier rope team be?
For safety, four to six people is ideal, because they hold a crevasse fall more reliably, even on steep névé. Teams of two need friction knots and wider spacing (15-20 m) and only make sense with experienced partners.
How is climate change affecting classic high-altitude tours?
Many routes have become technically harder because of bare ice slopes, bigger bergschrunds and more rockfall. Before every tour, ask the hut warden, the mountain guides' office or the Alpine club about current conditions. Some routes that once needed just an ice axe and crampons are now technical ice climbs.
Equipment for your first high-altitude tour
Boots, crampons, ice axe, helmet and harness: everything you need to get started is at SportFits.
Explore high-altitude equipment ↗Sources
- German Alpine Club: High-altitude tours: 10 recommendations ↗
- German Alpine Club: Staying safe on high-altitude tours: equipment, rope technique and tactics ↗
- German Alpine Club: Altitude sickness ↗
- German Alpine Club: Climate change: conditions in the Alps ↗
- German Alpine Club: Glaciers: the Alpine giants no longer eternal ↗
- SAC route portal: Breithorn, Zermatt, main summit ↗
- SAC mountaineering and high-altitude scale (overview) ↗
Inspiration, knowledge and gear for people who want more from the outdoors.